

Butt Fusion Machine Maintenance Checklist: Daily, Weekly, and Annual Tasks
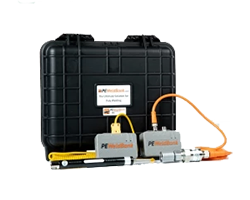
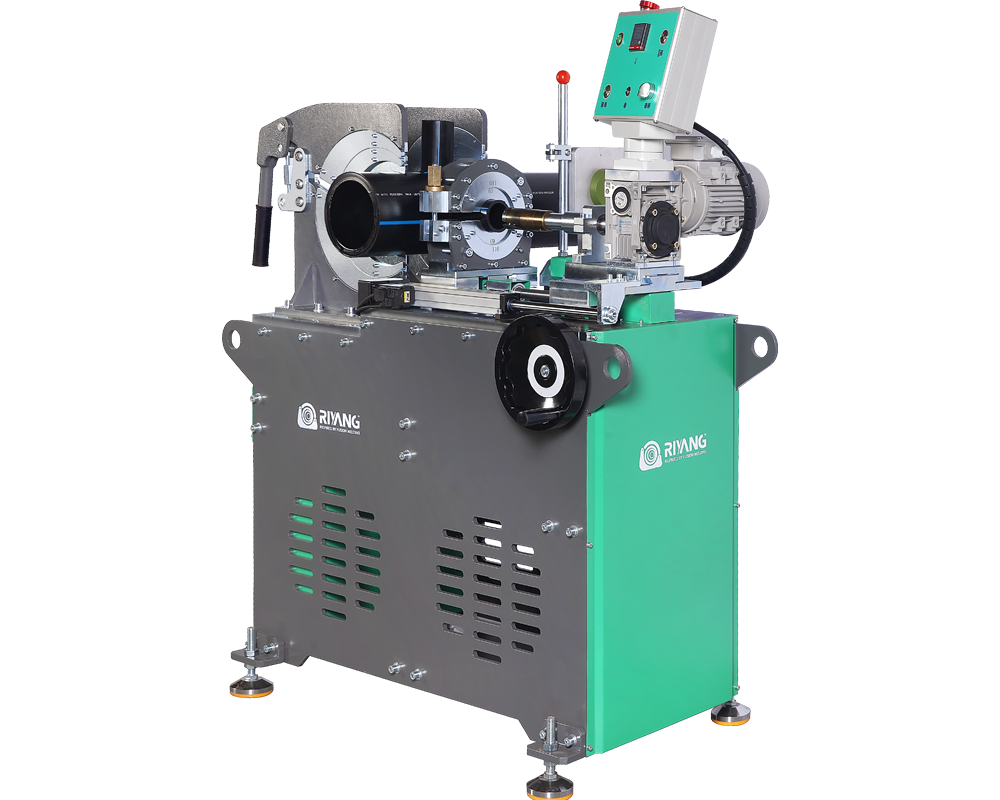
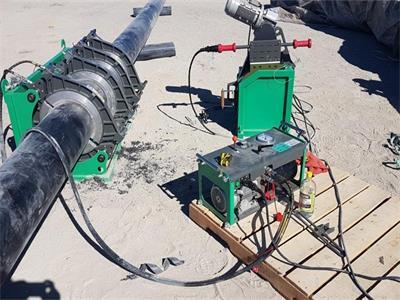
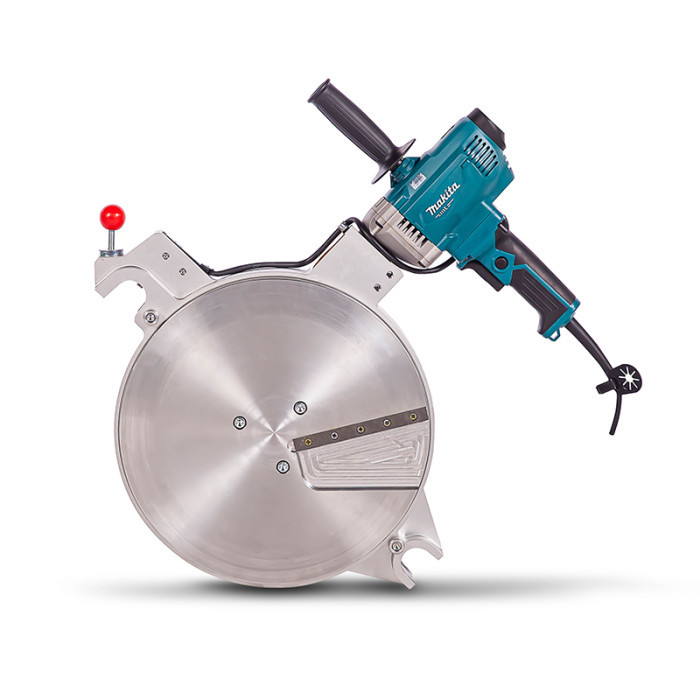
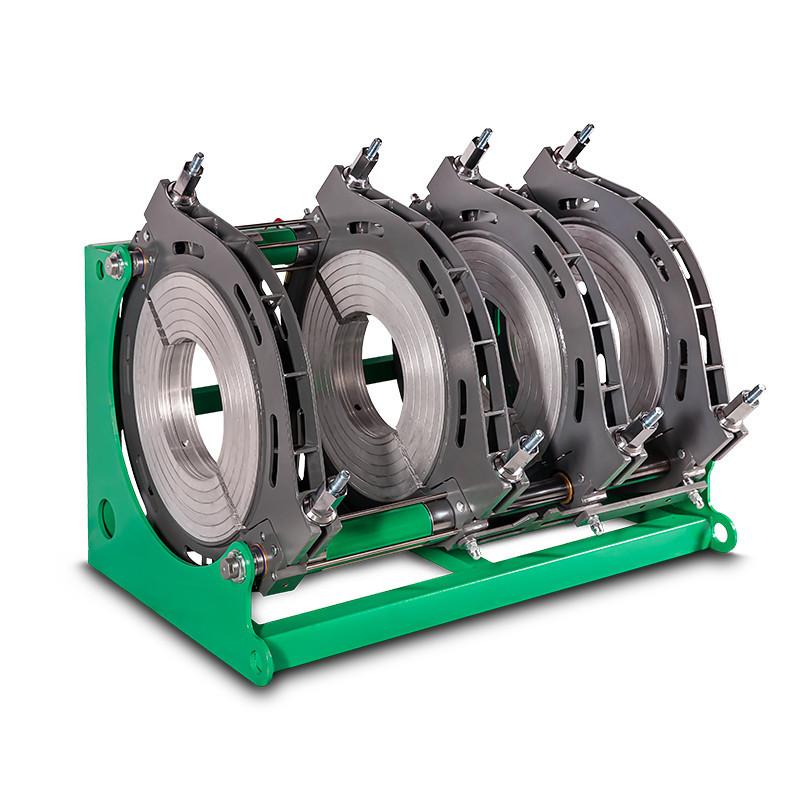
A disciplined maintenance routine is what separates consistent HDPE joints from random weld failures. Three cadences do the work: a daily pre-start inspection of the heater plate, facer, clamps and hydraulics; weekly checks of oil level, hoses, couplers and pressure gauges; and an annual calibration pass with full service records. Most field defects trace back to a contaminated heater plate, a leaking hydraulic circuit, or an uncalibrated gauge — every one of them preventable. A ten-minute walk-around before the first weld catches most failures before they become weld defects. Confirm the chassis is not bent by running a straight edge along the frame, then cycle the moving clamp half without pipe loaded to prove the rams and slide run with minimal friction — high effort to move an empty carriage usually means a bent frame or a sticking ram. Check that all hydraulic hoses are leak-tight, that pressure gauges return to zero at rest, and that the butt fusion machine reaches its set temperature and the facer blades are sharp. These checks are the manufacturer's recommended minimum. In many jurisdictions, commissioning and pre-use verification before production welding are also a contractual or legal requirement, so treat the daily walk-around as both an engineering habit and a compliance record. The hydraulic system delivers the exact force behind bead-up, fusion and cooling. Check the oil level daily in the sight glass and keep it above the minimum mark — commonly more than two-thirds full. A common recommendation for butt fusion hydraulics is ISO VG 46 oil, but always confirm the grade printed in the machine manual, since this is a manufacturer specification rather than a universal standard. Inspect every hose for cuts, abrasion, bulges and hard spots, and wipe quick-couplers clean with a lint-free cloth before connection so dirt never enters the circuit. Milky oil indicates water ingress; dark or gritty oil indicates particulate contamination. To isolate a pressure leak, clamp the hoses near the chassis: if the gauge then holds, the leak is downstream in the cylinder seals or couplers; if it still falls, the fault is internal to the hydraulic station, typically a non-return or relief valve. On manual machines the analog gauge is the operator's only reference, and vibration plus pressure spikes cause the mechanism to drift over time. Cross-check it against a calibrated digital transducer or a master test gauge; if the deviation exceeds ±0.1 MPa, recalibrate or replace the gauge before welding. Automatic machines use pressure sensors that drift the same way and deserve the same periodic verification. Every day, confirm the gauge reads zero with the pump off and holds steady during heat soak and cooling — a slow needle decline during cooling is a classic sign of an internal leak. Separately, measure drag pressure by moving the carriage without pipe and reading the gauge, then add that value to the theoretical welding pressure. Skipping drag-pressure compensation is a common cause of under-pressured, weak joints. Clean the heater plate while it is cold using a lint-free cloth, adding isopropanol only if grease or oil needs removing. The PTFE (non-stick) coating must stay free of scratches — never use a wire brush or a scraper, because a damaged coating lets molten polyethylene stick to the plate and snap back during removal, deforming the bead. Verify surface temperature across the full contact area with a surface-contact thermocouple or pyrometer, measuring the centre and all four corners. Typical working ranges sit around 200–240°C depending on the pipe material, with many PE100 procedures specifying a setpoint near 230°C — always use the exact value from the machine manual and the selected welding standard. Run one or two dummy welds to lift fine dust from the textured surface before production. A cold spot that reads more than roughly 15°C below the rest of the plate points to a failed heating element or a loose thermocouple. Machine-specific torque values, temperature setpoints and service intervals vary by model. Download the Riyang operation manuals and keep the OEM schedule with the machine on site. The facer (trimmer) produces the parallel pipe ends the weld depends on. Keep blades sharp — rotate reversible blades and replace dull ones, because a dull blade rubs instead of cuts, generating friction heat that can melt the pipe face before welding begins. A facer motor that stalls under load usually indicates worn carbon brushes or a failing start capacitor. On chain-driven facers, check chain tension: a loose chain makes the cutting discs shudder and leaves a stepped, uneven face. Confirm the emergency stop and any safety switches and guarding are present and functional, and that the motor's environmental seals are intact with no water ingress. Clamp inserts (liners) must be clean, securely fitted and matched to the pipe outside diameter. Worn or mismatched inserts let the pipe ends sit out of true and produce an asymmetric bead, even when the machine itself is sound. Re-check frame rigidity with a straight edge after any rough handling or transport. After facing, confirm the gap between pipe ends is within tolerance — a common recommendation is less than 0.5 mm for pipes up to about DN400 and less than 1.0 mm for larger diameters. A wider gap means the facer or the clamp alignment needs attention before you commit to a weld. Inspect all power cables, connectors and environmental seals for cuts, nicks and water ingress, and verify the ground connection before switching on. Field machines often run on diesel generators, and an undersized set is a frequent cause of a heater that will not climb to temperature or a machine that trips when the hydraulic pump kicks in. As a practical guideline, size the generator at least 30–50% above the machine's peak rating to absorb load spikes — for example a machine drawing around 12 kW calls for roughly a 20 kVA generator as a safe minimum. Confirm the exact requirement in the machine manual, since generator sizing is a manufacturer recommendation tied to inrush current. Once a year, have pressure and temperature accuracy verified by an authorized service centre, and drain and replace the hydraulic oil completely to flush out moisture and metal particulates. Keep the records that make maintenance auditable: weld logs from the data logger, calibration certificates, oil changes, and component replacements, each with the date and the person responsible. Documented records are what support traceability against standards such as ISO 21307 and DVS 2207, and they are often the first thing a client or auditor asks to see after a project. The table below condenses the routine into a printable reference. Requirements marked Mandatory come from contract or standard obligations, while Manufacturer recommendation items are good engineering practice from the OEM guidance. A common recommendation is once a year or roughly every 1,000 operating hours, whichever comes first. In very dusty or humid environments, shorten the interval to about every six months to prevent sludge and water from damaging the pump and valves. No. A wire brush or scraper damages the PTFE coating and causes molten polyethylene to stick to the plate. Clean the cold plate with a lint-free cloth, adding isopropanol only for grease or oil, and run a dummy weld to clear the textured surface. Cross-check it against a calibrated digital transducer or a master test gauge. If the reading deviates more than about ±0.1 MPa, recalibrate or replace the gauge before relying on it for welding pressure. A dummy weld is a normal fusion cycle aborted after the initial bead-up phase, used to lift fine dust and contamination from the heater plate. The bead is allowed to cool and is then trimmed away. Some procedures specify one or two dummy welds before production. A cold zone that reads significantly below the rest of the plate usually means a failed heating element or a loose thermocouple. Verify the full contact area with a pyrometer and stop welding until the cause is found. Drag pressure is the force needed to move the carriage against friction. It must be measured and added to the theoretical welding pressure; if it is ignored, the actual force on the pipe ends is too low and the joint comes out weak. Keep a written record of every check and, when a component reaches the end of its service life, contact Riyang service for spare parts and calibration support, or download the operation manuals for your model's exact schedule.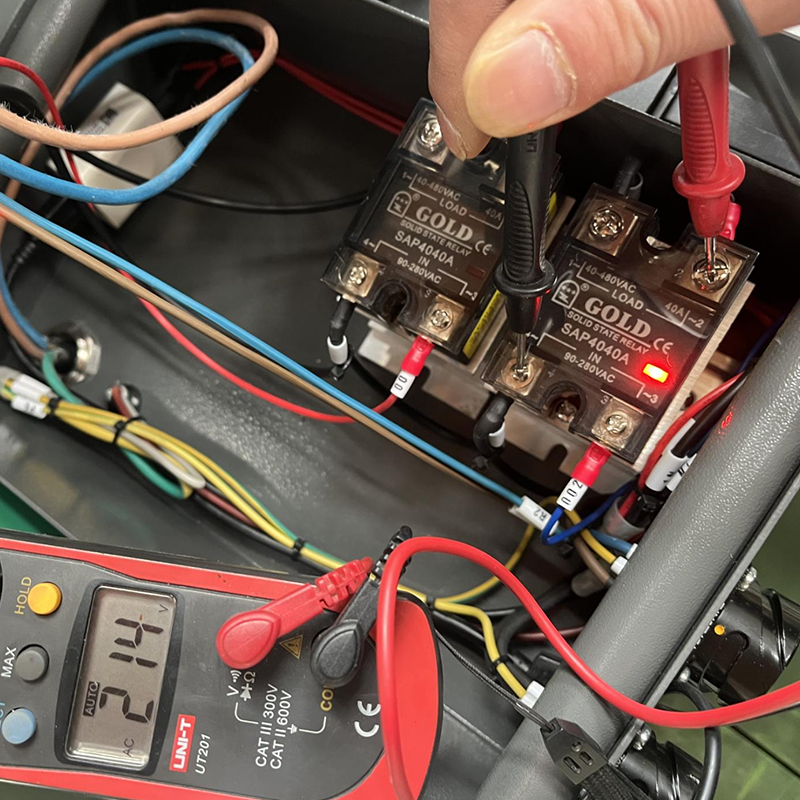
1. Daily Pre-Start Inspection
2. Hydraulic Oil, Hoses, Couplers and Leakage Control
3. Pressure Gauge and Sensor Checks
4. Heater Plate Surface, Coating and Temperature Verification
5. Facer Blades, Motor and Safety Switch
6. Clamps, Inserts and Alignment
7. Electrical Cables and Generator Compatibility
8. Calibration and Annual Service Records
9. Maintenance Schedule Reference Table
Task Cadence Type Chassis straight-edge check and empty-carriage cycle Daily Manufacturer recommendation Heater plate clean and temperature verification Daily Manufacturer recommendation Facer blades, motor and safety switch Daily Manufacturer recommendation Hydraulic oil level and coupler cleanliness Daily Manufacturer recommendation Hydraulic hose, coupler and leakage check Weekly Manufacturer recommendation Gauge zero, stability and drag-pressure check Weekly Manufacturer recommendation Oil contamination check (milky or dark fluid) Monthly Manufacturer recommendation Full hydraulic oil change Annual / per hours Manufacturer recommendation Pressure and temperature calibration Annual Manufacturer recommendation Site commissioning and destructive test weld Before production Mandatory 10. Frequently Asked Questions
How often should I change the hydraulic oil?
Can I clean the heater plate with a wire brush?
How do I know my pressure gauge is accurate?
What is a dummy weld and why do I need one?
Why does my heater plate have a cold zone?
What is drag pressure and why does it matter?
11. Key Takeaways
12. References